Van Construction Steps
In my two previous posts I shared my point of view towards Outdoor Sports and what kind of sport utility vehicle (SUV) could be adapted to my needs. In this article I’m going to give you an insight about my own van design and construction to transform my Mercedes Vito into the perfect Van.
.
.
Defining specific areas into your Van
.
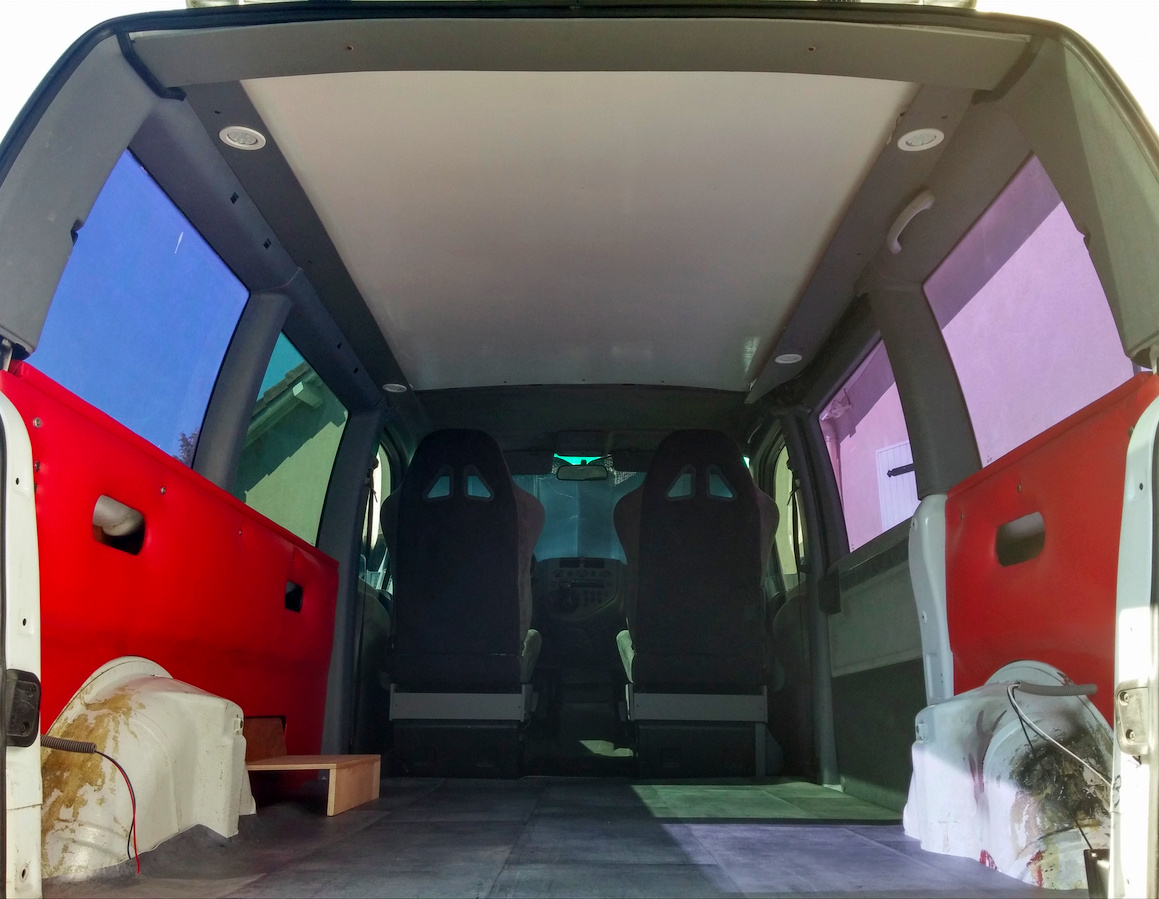
This stage is often ignored since we are impatient working on our Van construction. I defined four zones (two inside and two outside with my tailgate open) to receive my future layouts:
These areas have their own specific constraints. Design is here to harmonize all of them with consistency and coherence. Ask yourself this question: How can I improve my usage with an equipment as minimalist as possible?
.
.
How do you think you will use your Van for 48 hours?
.
Internet is a powerful tool. It’s rare you’re the first person to face a problem. In 95% other people encountered it too. Inspire yourself from their ideas and solutions. The more examples you see, the more ideas you cross, better is the result you wish to obtain.
Analyzing what you see is primordial. There is always a way of optimizing an idea if you have examples and/or a strong work experience in different fields. If you don’t know “how to do” something, ask YouTube and learn!
Observe carefully around you, even the most common thing such how works a draw can bring you part of the answer.
Think about every task your Van must take in consideration during a day/week-end:
- How to load/unload your outdoor sport equipment quickly, safely and easily?
- Where should be interrupters and what functions do you assign to them?
- How are divided your zones when you’re driving and when you’re parked?
- Where are the different lighting zones and how do you use them?
- How to optimize your water and energetic resources?
- Where should be your outlets? What electrical tension?
- …
My visualizing and synthesizing skills where really helpful with my deep “ultra light all mountain four season” traveling experience to define every aspect I have to take in consideration for a 48h journey.
Once this exercise done, it’s time doing a schematic circuit diagram.
.
.
Realisation of your schematic circuit diagram
.
 This schematic circuit diagram allows you to:
- Consider if the functions you want to set up are possible
- Decide how those ones are controlled
- Understand how to link your connections
- Define where you have to install your electrical sheathing into the car body
- Choose where you want to centralize your electric dashboard
Your analysis must take in consideration every aspect you want to implement, even ideas you’re not sure about. As example, I would like to add rear audio speakers in my Van tailgate but I don’t think it is necessary right now. However I pulled audio cables from my car audio system to the tailgate in order to avoid a difficult mission if I change my mind.
..
Some gold rules to optimize your Van design
.
Insulation or not?
 In my case I’ve chosen not insulating my Van against temperature variations because I have windows. Therefore my van is only a rain and wind shelter like a tent and my sleeping bag must keep me warm during the night. However I added synthetic foam in my car body to reduce sound vibrations and noise while I’m driving.
.
.
.
Optimizing forgotten spaces in your van design
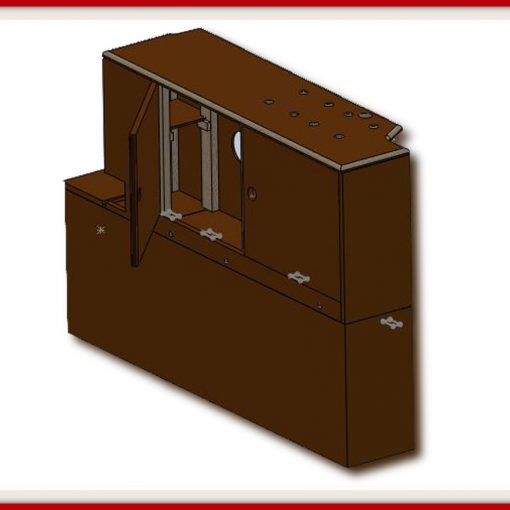
 One of the most important things when you want to design your van before construction is identifying empty volumes. When your car body is bare, take a look and see if there is a possibility of creating storage units between two steel sheets like the one I made.
Those storage units will be helpful to organize tools, battery cables, smartphone, charger, clothes, … You will always find a way to use them.
.
.
Identifying your functional areas and your dead areas
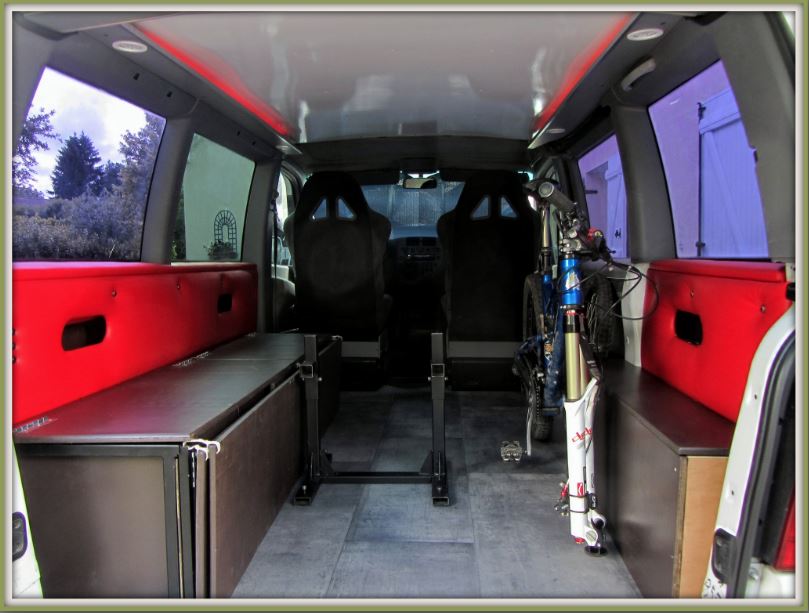
Whether it is your house or it is your van, there are always unoccupied zones: corners and edges. I take as example the lighting disposition in your Van. It would be a pity to low a few centimeters down the whole surface of your ceiling to add spotlights. Instead you should use unoccupied edges to place those spots where your head cannot hit them. Later on, you will still be able to upgrade your equipment to add a pop-up roof.
.
Simplicity is the ultimate sophistication
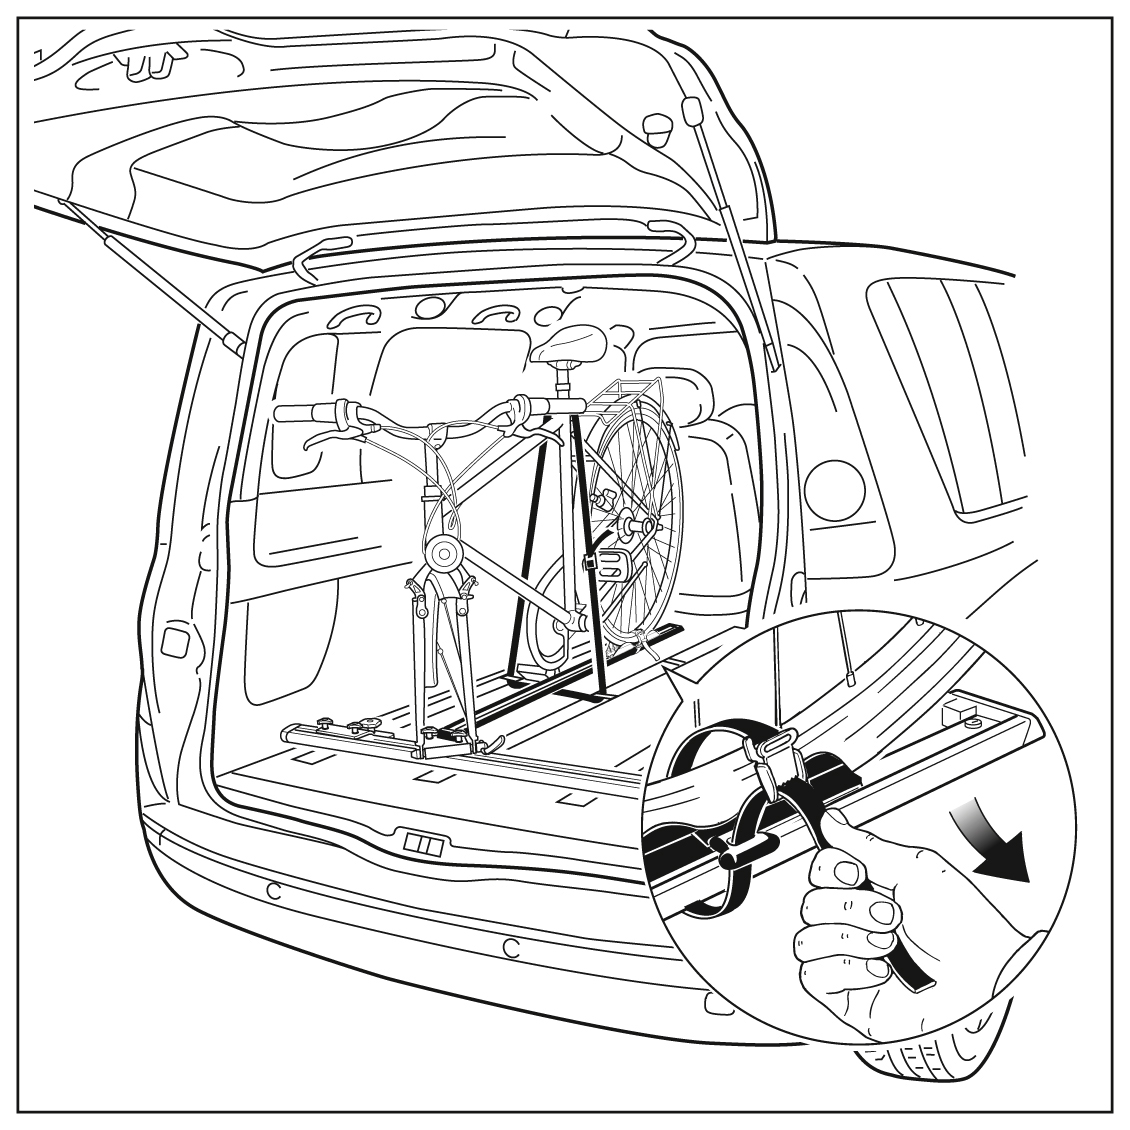
Each new part must be easy to disassemble. Bolts and nuts can be reach with a screw gun and there is enough space to slide both hands where you need accessibility. This is a key rule for the construction of your Van design. Today you carry your mountain bike but maybe tomorrow you will carry furnitures. Don’t limit your SUV to only one usage.
.
There is no rush.

When you do something for the first time, it is essential not rushing. Often take a step back to analyze conceptual problems and how you can solve them. Of course you can have a look on the Internet and see if somebody else already had this problem
, or watch video from professionals showing “how to do” to accelerate the solving process.
.
.
.
Delicacy of realization of your van
What makes the difference between a hobbyist and a professional equipment manufacturer is the delicacy of assembly. Don’t limit your imagination when you thing about color harmonization and global design of your Van. The way you think and the ambition of your project are the only limits. Nonetheless keep a good head on your shoulders to manage your expenses and your time.
